Connecting Cameras to OBS Studio: Webcam, DSLR, and Camcorder
Greetings, my fellow content creators and live-streaming enthusiasts! In the ever-evolving digital landscape, the ability to share engaging content with the world has become a superpower. And what better way to flex those creative muscles than by harnessing the full potential of OBS Studio, the open-source streaming software that has taken the internet by storm?
I know what you’re thinking: “I’m just a mortal with a basic webcam. How can I possibly elevate my game?” Fear not, my friend, for I’m about to unlock the secrets of connecting all kinds of cameras to OBS Studio, transforming your humble setup into a veritable production powerhouse.
Download OBS Studio for FREE!
Connecting a Webcam to OBS Studio
First, talk about the humble webcam, your reliable companion for countless video calls and virtual gatherings. Connecting it to OBS Studio is straightforward, making it an excellent starting point for those new to streaming.
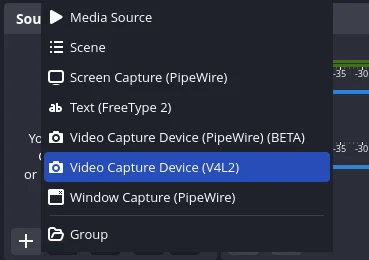
Launch OBS, go to the “Sources” section and add a new “Video Capture Device” source. Voila! You’re now broadcasting your image to the world, one pixel at a time.
Leveling Up with a DSLR or Camcorder
Why stop at a webcam? Suppose you’re an aspiring filmmaker dreaming of cinematic grandeur or a gaming streamer aiming to capture every thrilling moment in high definition. In that case, it’s time to level up and harness the power of a DSLR or camcorder.
This process requires more finesse and a touch of technological magic. First, you’ll need a capture card that converts your camera’s output into a format that OBS can understand. Once you’ve got this essential tool, the real fun begins.
Connect your camera to the capture card using the appropriate cables (HDMI or SDI, depending on your setup), then connect the capture card to your computer. In OBS Studio, create a new “Video Capture Device” source, but this time, select your capture card instead of your webcam.
Suddenly, your stream transforms into a cinematic masterpiece with rich colors, incredible detail, and a depth of field that would make even the most seasoned cinematographer swoon. But wait, there’s more!
With a DSLR or camcorder, you can unleash your creative potential, experimenting with different lenses, angles, and shooting styles to captivate your audience like never before.
Want to create a breathtaking time-lapse of a sunset? No problem. Feeling adventurous and want to rig up a camera for a unique perspective? OBS Studio has got your back.
Don’t Forget About Audio
Let’s not forget about audio – the often-overlooked sibling of video, but equally crucial in creating an immersive experience for your viewers.
Most modern DSLRs and camcorders offer exceptional audio capabilities, allowing you to capture crisp, clear sound that complements your stunning visuals.
But what if you’re a true audio enthusiast yearning for that pristine, studio-quality sound? Fear not; OBS Studio has you covered there, too.
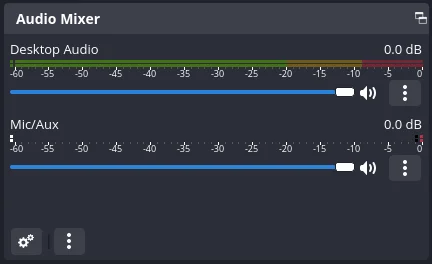
Connect an external microphone or audio interface to your computer and add an “Audio Input Capture” source to your OBS scene14. Suddenly, your viewers will be transported into a world of rich, resonant tones, elevating your content to new heights of auditory bliss.
Optimizing OBS Studio Settings
Now, you might wonder, “How do I ensure that my settings are optimized for the best possible stream?” Don’t worry; I’m here to guide you through the maze of settings and options, ensuring your stream looks and sounds as polished as a freely buffed diamond.
Resolution and Frame Rate
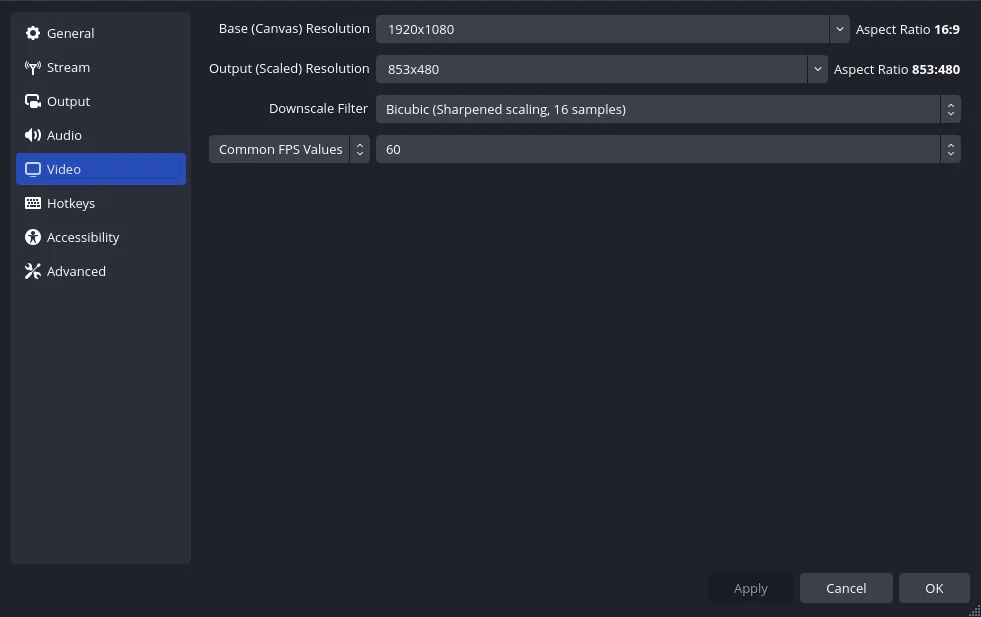
First and foremost, let’s talk about resolution and frame rate. These two elements are the backbone of your video quality, determining the crispness and fluidity of your stream.
For most purposes, aiming for a resolution of 1080p at 30 frames per second (fps) is a solid starting point, striking a balance between quality and performance.
However, if you’re a gaming streamer with a robust internet connection, feel free to push those limits and embrace the glorious 1440p or even 4K resolutions at 60fps.
Bitrate
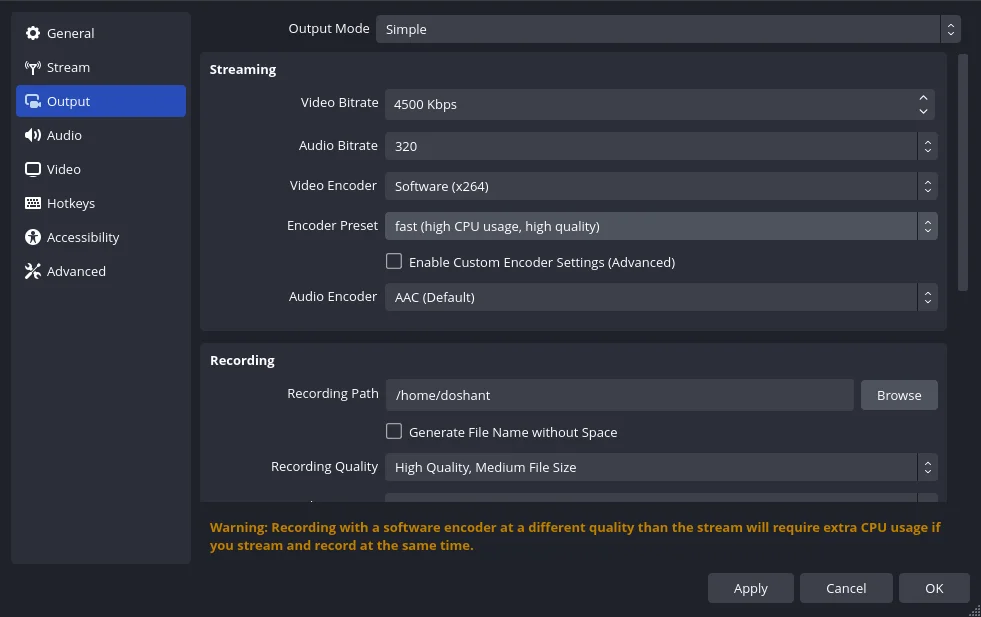
Next, we delve into bitrate the amount of data transmitted per second directly impacting your video quality. A higher bitrate generally means better quality but requires more bandwidth.
For most streams, a bitrate between 3000 and 6000 kbps is a safe bet, but feel free to experiment and find the sweet spot that works best for your setup and internet connection.
Encoding
Let’s not forget about encoding—the process of compressing your video data for efficient transmission. OBS Studio offers a variety of encoding options, including the venerable x264 and the newer, more efficient x265 (or HEVC) codecs.
While x265 provides superior compression and quality, it also requires more processing power, so be mindful of your system’s capabilities.
Advanced Features and Community Support
OBS Studio is a playground of advanced features and settings, allowing you to fine-tune every aspect of your stream perfectly. The possibilities are endless, from custom video filters and scene transitions to virtual webcam capabilities and multi-view streaming.
And let’s not forget the vibrant community of OBS Studio users and developers who tirelessly contribute plugins, scripts, and resources to enhance your streaming experience. Whether you’re seeking to add custom overlays, integrate with third-party tools, or automate tedious tasks, there’s likely a solution in the ever-expanding OBS ecosystem.
Conclusion:
So, there you have it—a comprehensive guide to unlocking OBS Studio’s full potential and elevating your content creation game to new heights. Whether you’re a seasoned pro or a fresh-faced newcomer, the world of live streaming is yours to conquer.
Embrace the power of high-quality cameras, experiment with different setups and configurations, and never stop pushing the boundaries of what’s possible. Because, In the end, the true magic lies not in the gear or the software but in your ability to captivate, entertain, and connect with your audience
Now, go forth and stream! The digital world awaits your masterpiece.
Related Guides
Quick Start Guide
Top 10 OBS Studio Tips and Tricks
