Understanding Sources in OBS Studio
Understanding sources in OBS Studio is crucial in creating professional live streams and recordings. As an open-source program for multi-platform streaming, OBS Studio has become incredibly popular for content creators. At its core, OBS adds and configures different “sources” – video, images, screens, webcams, and more.
In this comprehensive guide, we unpack everything you need to know about effectively using sources in OBS Studio. Whether you want to configure your first stream or take your workflows to the next level, this guide is essential reading.
With easy-to-follow advice for beginners and more advanced power users alike, we cover:
- How to expertly add and remove sources
- Organizing intricate multi-source setups
- Finetuning audio mixing
- Adding graphics and visual flair
- Unlocking other professional features of OBS Studio
1. What Are Sources in OBS Studio?
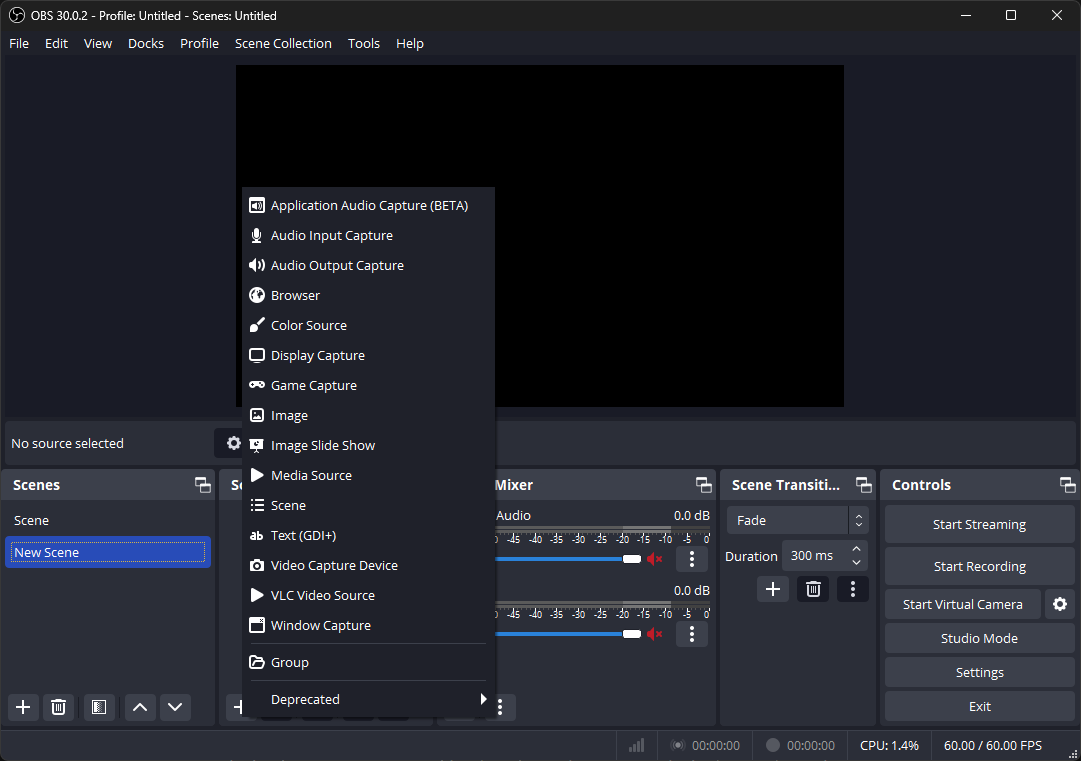
In OBS Studio, sources are the building block of your OBS Scene. They allow you to add various elements to your stream layout, such as a game, webcam, live chat, overlays, and audio. Let’s explore the different types of sources available:
1. Audio Sources: Captures your microphone, desktop, and application audio.
2. Browser Sources: Add web pages in your scene. It is excellent for overlays and chat-boxes.
3. Color Sources: Add colored blocks within your scene.
4. Display Capture: As the name suggests, it captures your entire display or, instead, what your operating system displays on the screen.
5. Game Capture: It is commonly used to capture your game window or any fullscreen window.
6. Image Sources: Adds static images to your scene; also great for static stream overlays.
7. Media Sources: Used to play audio or video files in your stream, you can even import your VLC audio playlist to play local audio files as background music.
8. Text Sources: These can be used to add text overlays in your scenes & heavily customize them.
9. Video Capture Sources: The video capture sources can be helpful to add a video feed in your scenes and work great to add a webcam, cards, or other video devices to your stream.
10. Windows Capture: Windows Capture captures a specific window configured to show a scene. It works great when you only want to display one specific window, but multiple windows are open on your display; Windows Capture works excellent for privacy.
2. Adding and Removing Sources
Adding and removing sources in downloaded OBS Studio is a straightforward process. Here’sHere’s how you can do it:
a) Adding Sources
Select the Scene:
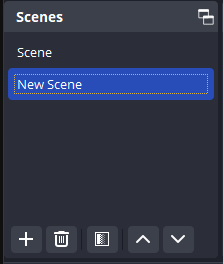
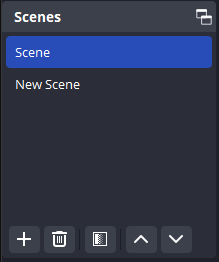
1. In the OBS Studio Scenes Window, select the scene where you want to add the Source.
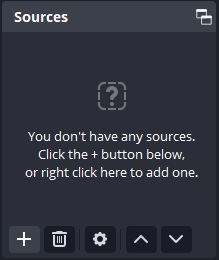
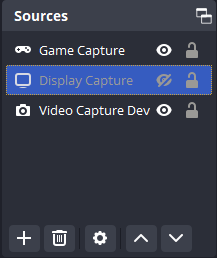
2. Click “+” in the Sources Box to open a list of available sources to add to your scene.
3. Select the Source you want to add, and provide a title.
b) Configuring the Source:
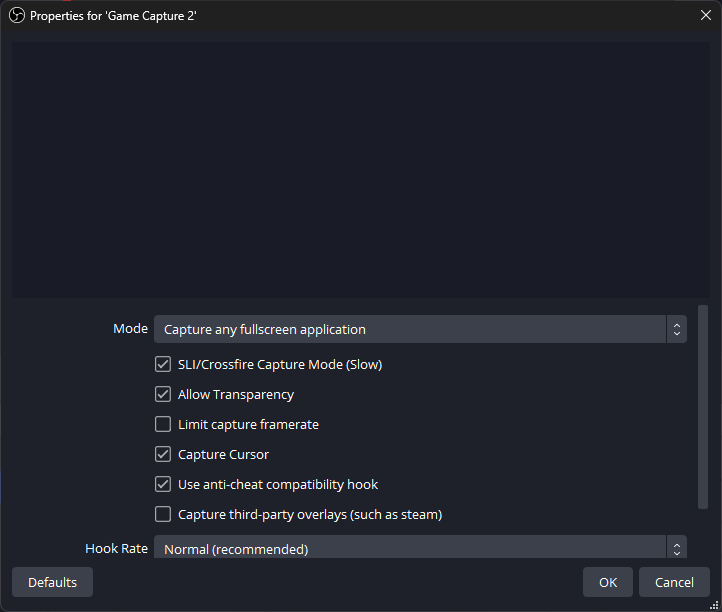
1. Each source type has its own set of properties you can configure. For instance, for “Game Capture,” you can choose the specific game window you want to capture if the “Mode” is set to Capture windows.
2. Once you’ve configured the Source, click “OK.” The Source will now appear in your selected scene.
3) Removing Sources
1. Select the Scene: In the Scenes Window, choose the scene from which you want to remove the Source.
2. Select the Source: In the “Sources” box, click on the Source you want to remove.
3. Click the “Trash” button in the Sources Box to remove the selected Source from your scene.
3. Organizing and Managing Sources
Managing your sources effectively can make your streaming process smoother. Here are some tips to do it:
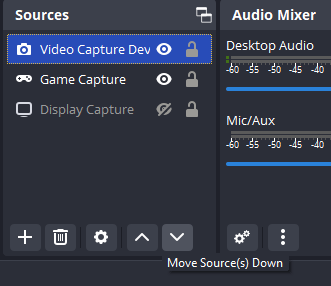
1. Ordering Sources: Sources are layered in the order they appear in the ”Sources” box. The Source at the top of the list is displayed above the others. You can change this order by dragging and dropping the sources in the list.
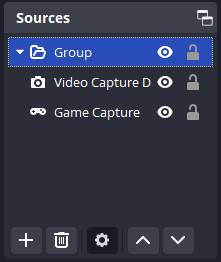
2. Grouping Sources: You can group related sources. Right-click in the “Sources” box, select “Create/Select Group,” and then add the sources you want to group.
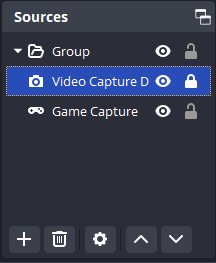
3. Locking Sources: To prevent accidental movement or resizing of sources during a live stream, you can lock them. Click the “lock” icon next to the Source in the “Sources” box.
4. Advanced Source Features
OBS Studio also offers advanced features for sources:
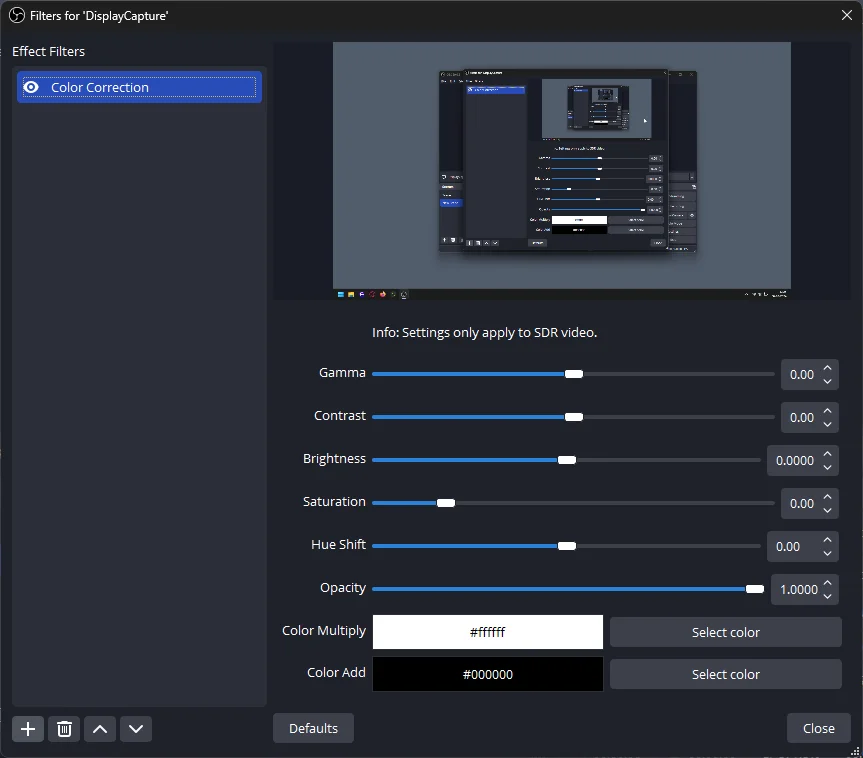
1. Filters: You can apply filters to your sources. Right-click a source, select “Filters,” then choose from the available options.
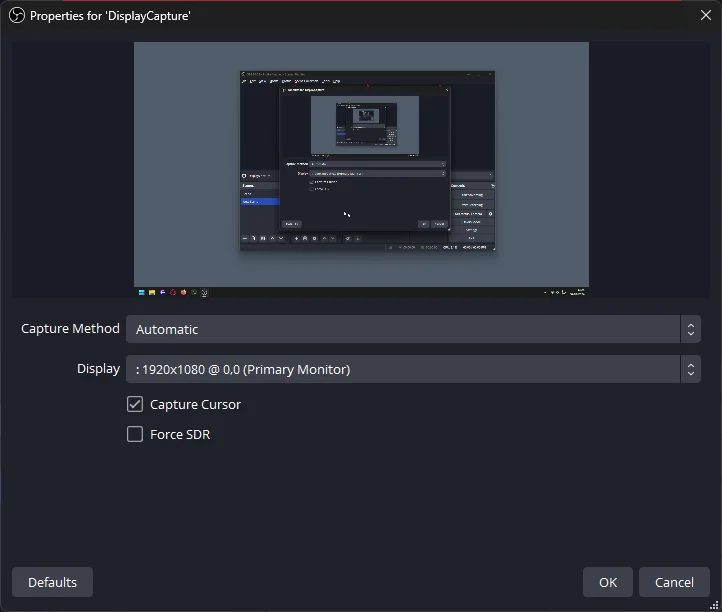
2. Properties: Each Source has a set of properties you can adjust. Right-click a source and select “Properties” to access these settings.
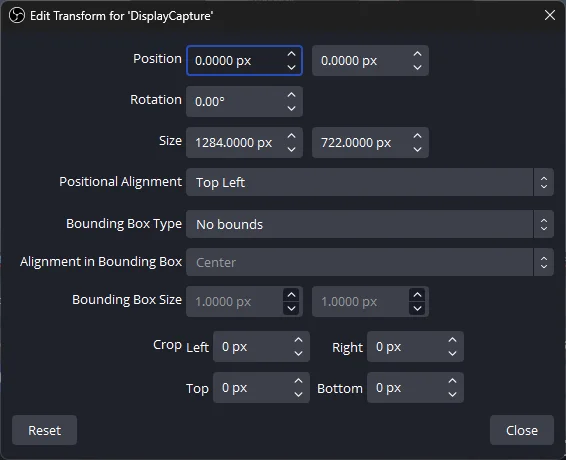
3. Transform: You can adjust the size and position of your sources. Right-click a source, select “Transform,” and choose from the available options.
Conclusion
Understanding and effectively managing sources is crucial for creating professional streams in OBS Studio. As we have covered, mastering techniques like properly adding and configuring sources, organizing multi-layered setups, finetuning audio, and using advanced features can take your workflows to the next level. Whether you are just starting or looking to upgrade your productions, following this guide equips you with the knowledge to excel.
Remember—the quality of your content and how you present it matters. OBS Studio’s versatile source system enables endless possibilities for dynamic broadcasts. Now that you can competently harness sources for audio, video, visuals, and more, you can craft professional, impactful streams that resonate. Mastering sources unlocks the door to polished broadcasts. Happy streaming!
Related Guides
OBS Studio Version 30.0.2
Detailed Guide to Use OBS Studio on Linux
